Basic Camera Moves

By incorporating a variety of different camera moves into your shots, you can add a deeper sense of visual interest. Combine this with a strategic approach to messaging and you'll be off to the races. As with deciding how to frame your shots, take care when selecting the most appropriate camera move. The effect that each move has can vary significantly in how it makes the viewer feel.

Here are some well-loved camera moves to consider:

...
Zoom

Probably the most well-known camera move, zooming gives the impression of moving closer or further away from the subject. It can be used effectively to magnify a certain focus point in the frame, but other moves such as a dolly, are a more natural way to show movement. While a quick zoom can help add a sense of drama and energy when used correctly, avoid over-using zoom as your default move.

...
Pan

Panning is when the camera is moved horizontally from one side to another on a central axis. This is a rotating movement in which the camera’s position remains in place, but the direction that it faces changes. It can be used to follow a moving character or to fit more into a frame, for example, panning across a landscape to create a sense of place.

...
Tilt

Tilting is similar to panning in that the camera is kept in a stationary position, but unlike panning (which looks from side to side) tilting focuses on upwards & downwards movements. Using a tilting motion helps to fit more into a single frame. A slow upwards tilt can be very effective in making a subject appear bigger or more significant while a downwards tilt has the opposite effect.

...
Dolly

A dolly shot is when the entire camera is mounted on a track and is moved towards or away from a subject. Unlike a zoom shot, the world around the subject moves with the camera. A dolly gives the illusion that the viewer is walking towards the subject and can be a great way of creating a sense of intimacy between them.

...
Truck

Similar to dollying, trucking involves moving the entire camera along a fixed point, but the motion goes from side to side, rather than in and out. It’s often used to follow characters in action. Mounting the camera on a fluid motion track will help to stamp out any jerking camera movements.

...
Pedestal

A pedestal (AKA Boom up/down or Jib up/down) involves moving the camera upwards or downwards in relation to a subject. It’s different from tilting in that the entire camera ascends or descends, rather than just the angle of the camera. A pedestal shot can be used to frame a tall or high subject (such as a building) while keeping the framing at eye level view for the viewer.
 

Storyboarding Shot Types

There are many ways to frame a subject within a shot, which can range from showing their entire body to fixating on a finer detail, such as their eyes. In choosing the most fitting shot, you’ll need to bear in mind the message that you’re trying to communicate to your audience.

Here are some of the most common types of shots and how you can go about using them:

...
Establishing shot

Often included at the beginning of a scene, the establishing shot helps to build ambiance and may give a nod towards the context of what’s to come. It generally comes in the form of a long shot and indicates where (and sometimes when) the scene is taking place.

...
Full shot

The full shot is just as the name implies and shows the entire body of the subject from head to toe. This shot tends to focus more on the character’s movement and gestures, rather than their state of mind.

...
Medium shot

Also known as the ¾ shot, the medium shot typically shows the subject from the knees up. It allows the viewer to see the background environment and the character’s gestures, while still being close enough to capture their emotions.

...
Close shot

With a close shot, the subject’s head/face takes up the majority of the frame and therefore, allows their reactions and emotions to dictate the scene. The subject becomes the prominent focus and helps the audience build a personal connection, without being distracted by background interferences.

...
Extreme close shot

An extreme close shot is so close that only one specific detail, such as a person’s eyes or mouth, can be seen. Because of the unnaturally close nature of the shot, it should be used sparingly, but when used appropriately, an ECS can be incredibly effective at adding drama to a scene. It allows the viewer to see details that may have otherwise gone unnoticed and can really accentuate the emotions that the subject is experiencing.

...
Up shot

An up shot is taken from below the eye-level of the subject and creates the perception that the viewer is looking at them from a lower perspective. This type of shot can give the impression that the subject is in some way powerful, heroic or even dangerous.

...
Down shot

A down shot, in contrast to an up shot, is taken from above the eye-level of the subject and can make the subject seem vulnerable or powerless.

...
Over the shoulder shot

This type of shot is taken from behind the shoulder of another character and typically frames the subject in a medium or close shot. It is particularly effective in group conversation scenes and helps establish which characters are speaking to each other.

...
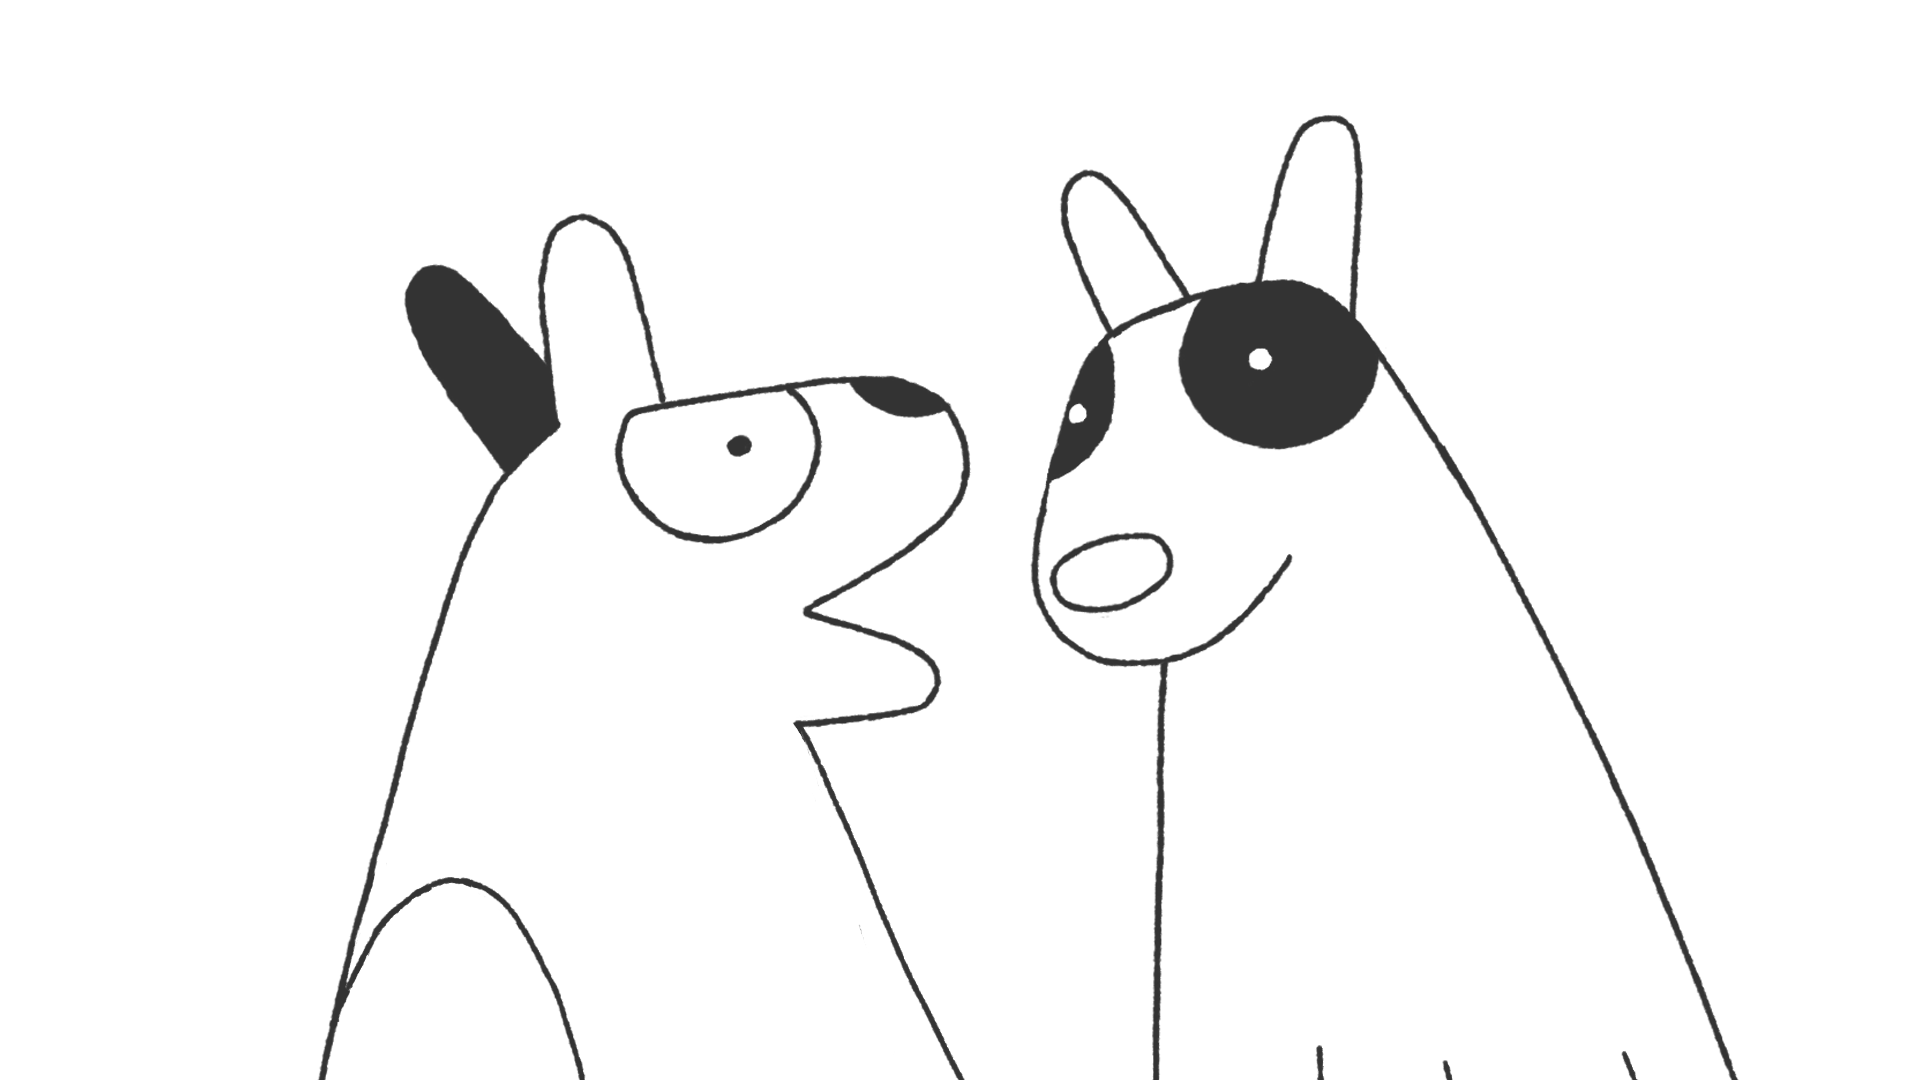
Two shot

A two shot presents two characters together within the same frame. It’s a natural means of introducing both people and can be used to shed light on their relationship with one another. Different variations of the two shot can be applied to deliver different messages about the characters. For example, when characters are positioned next to each other, it may give the impression that they have equal prominence within the scene.

...
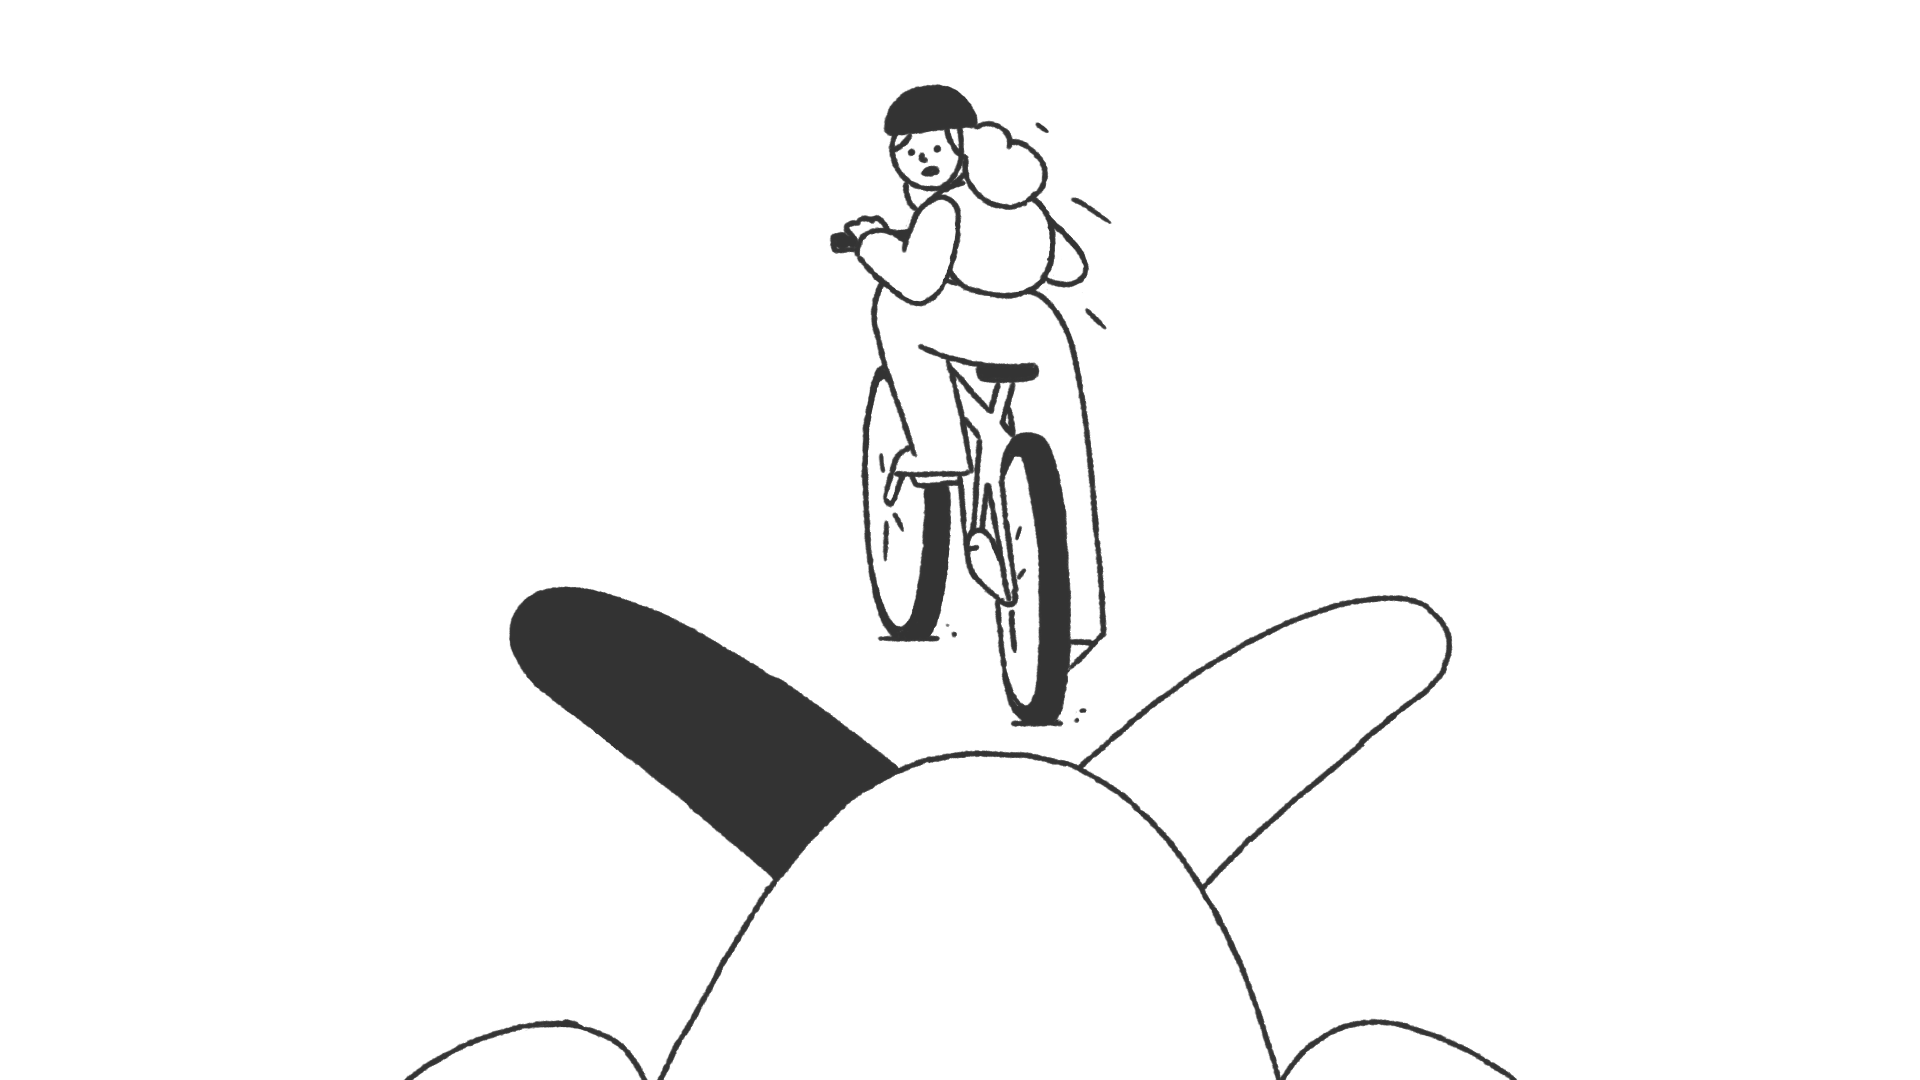
Point of view shot

The point of view shot, also known as the POV shot, depicts an angle that shows what a character is looking at. This type of shot allows the viewer to take on the perspective of the character and begin to understand their state of mind on a more personal level.


Video Transition Effects

Video transitions are a staple of video editing and motion graphics. Also known as transition effects, they are used to move from one shot to the next. Transitions can be a simple ‘cut’, or much more complex.

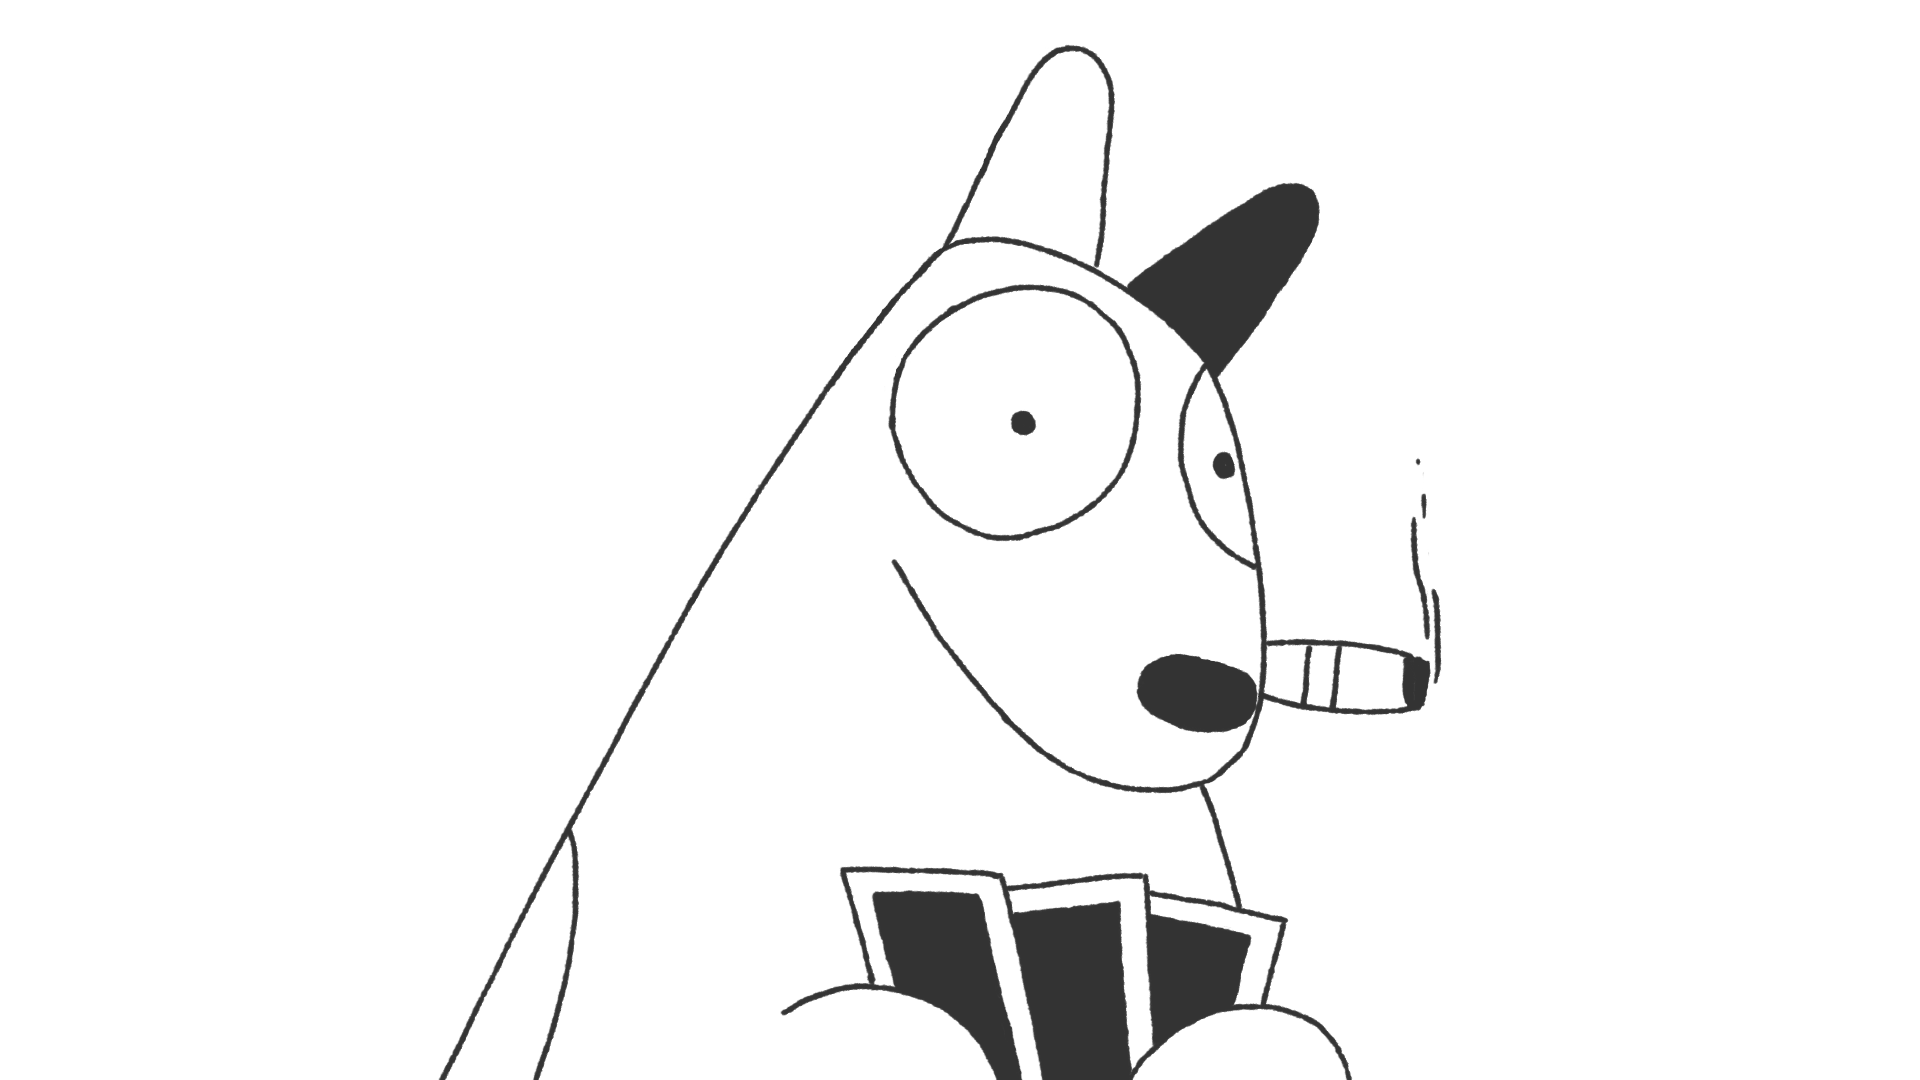
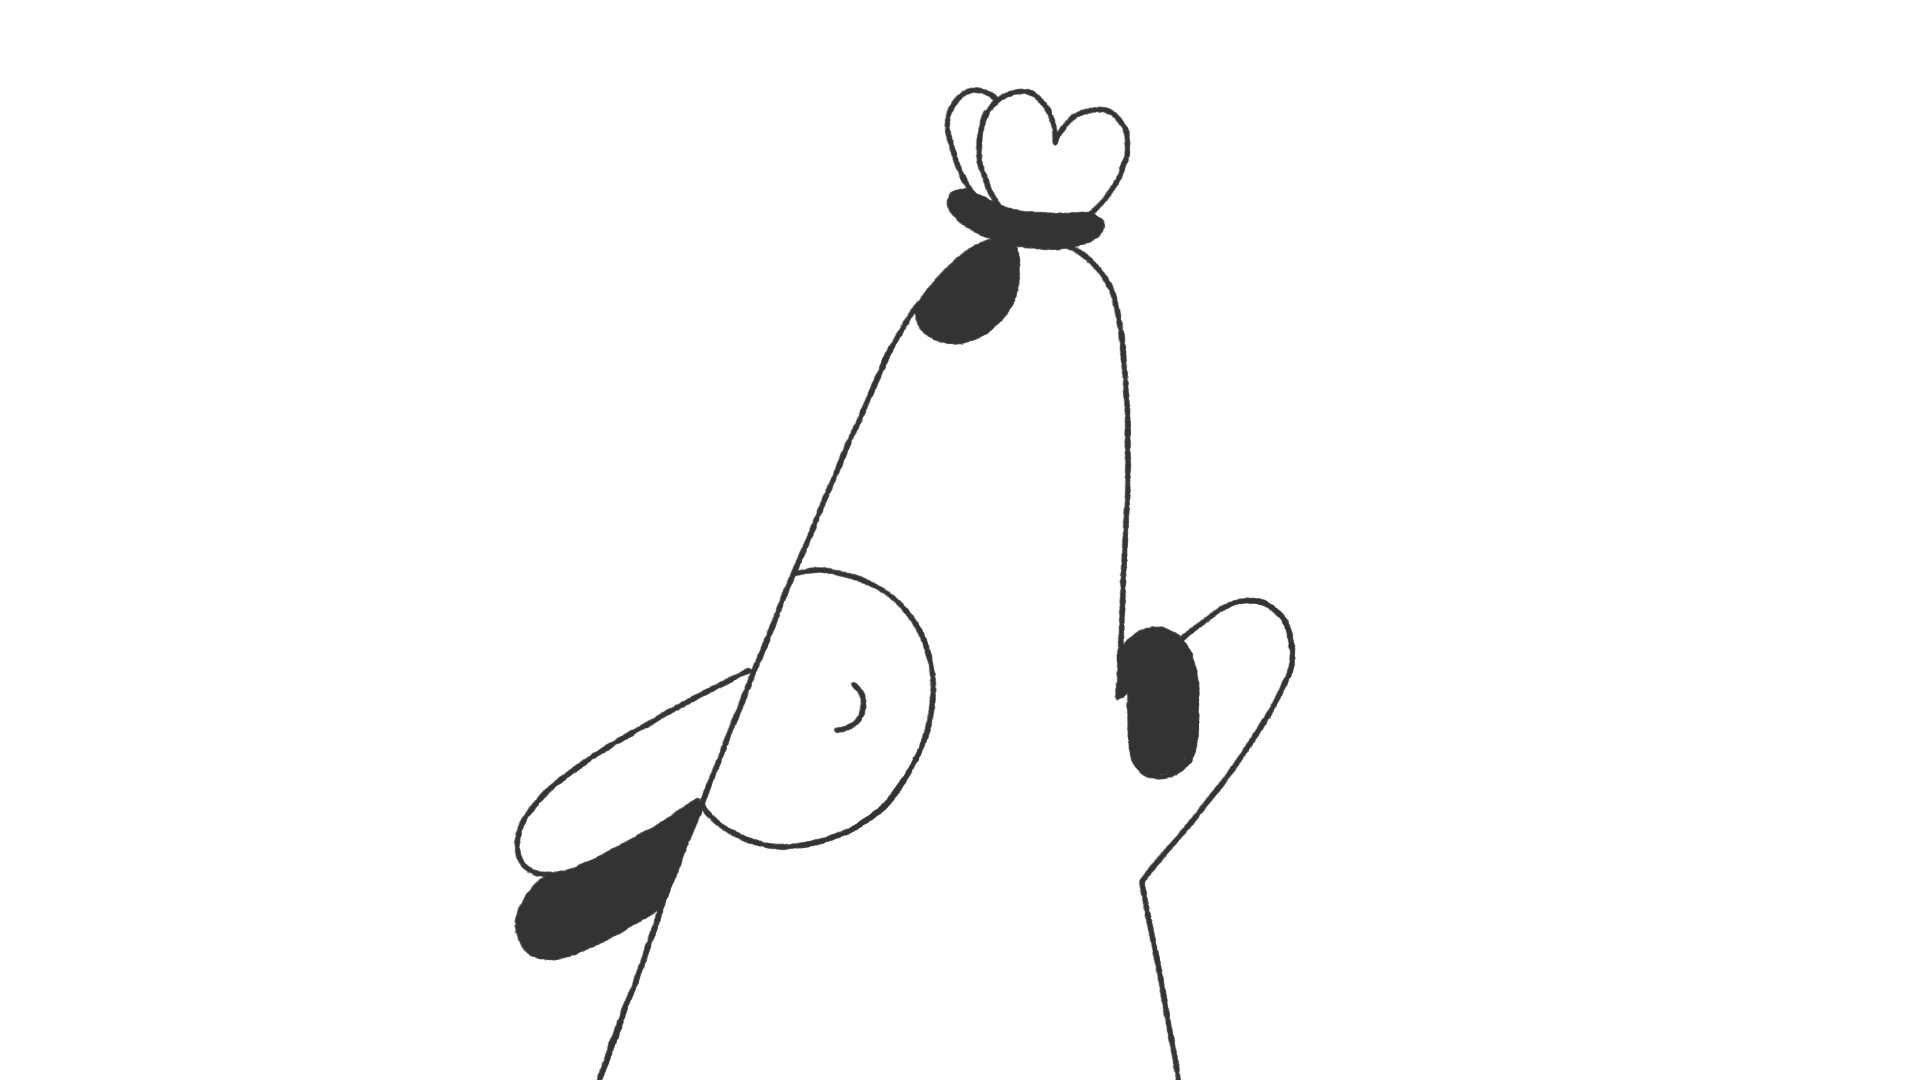
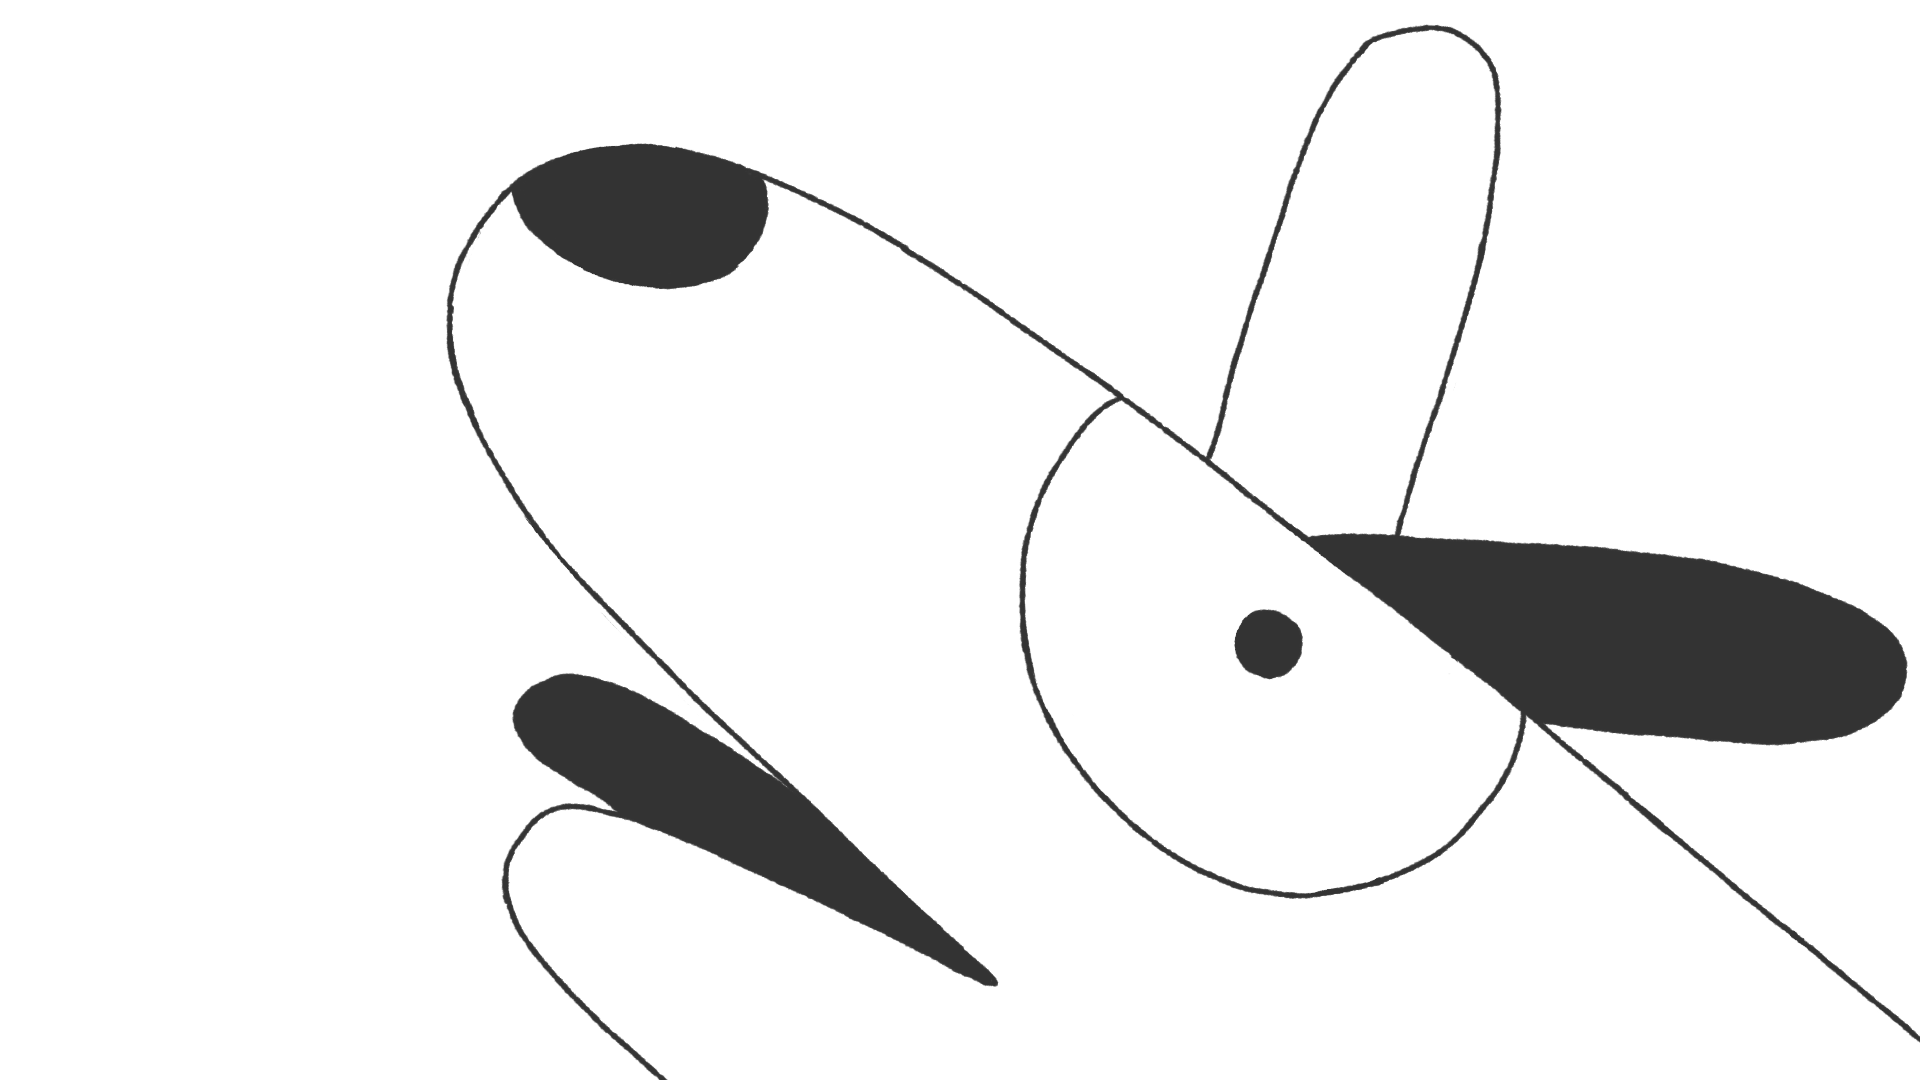
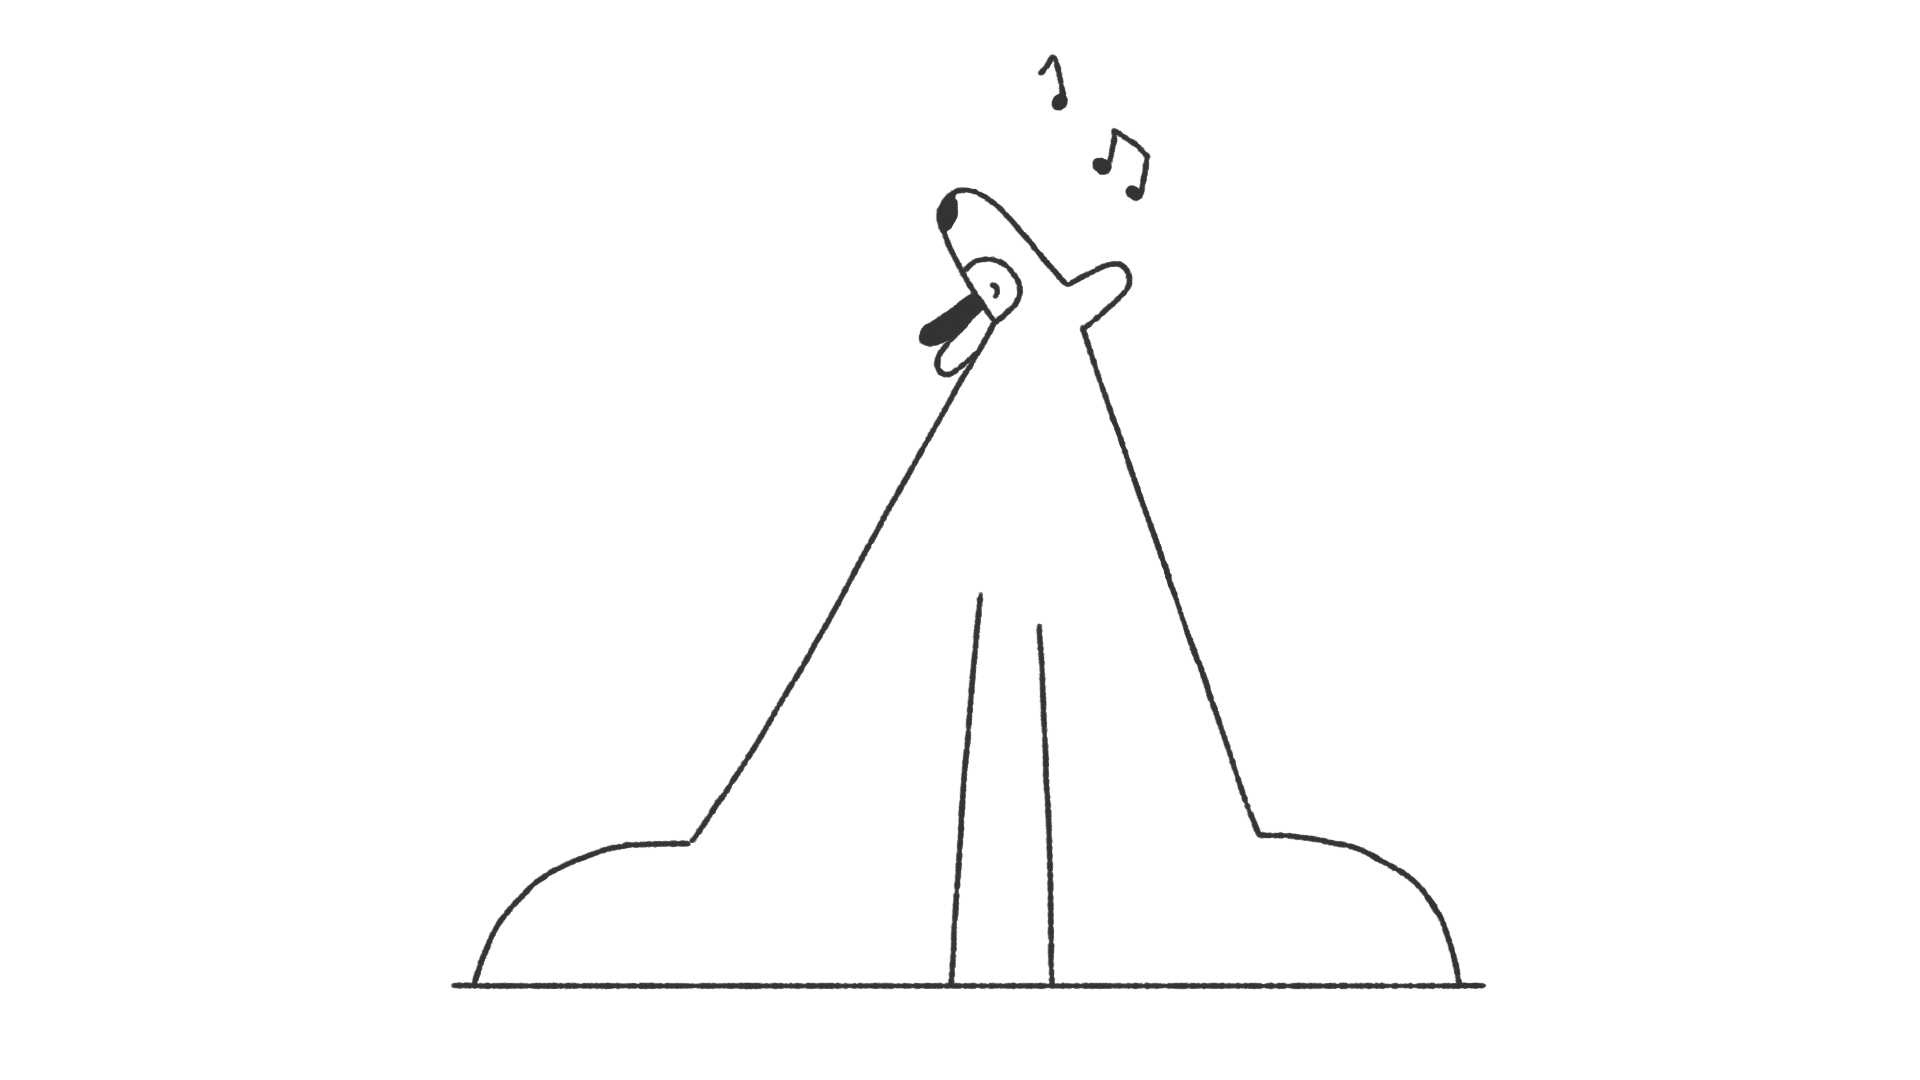
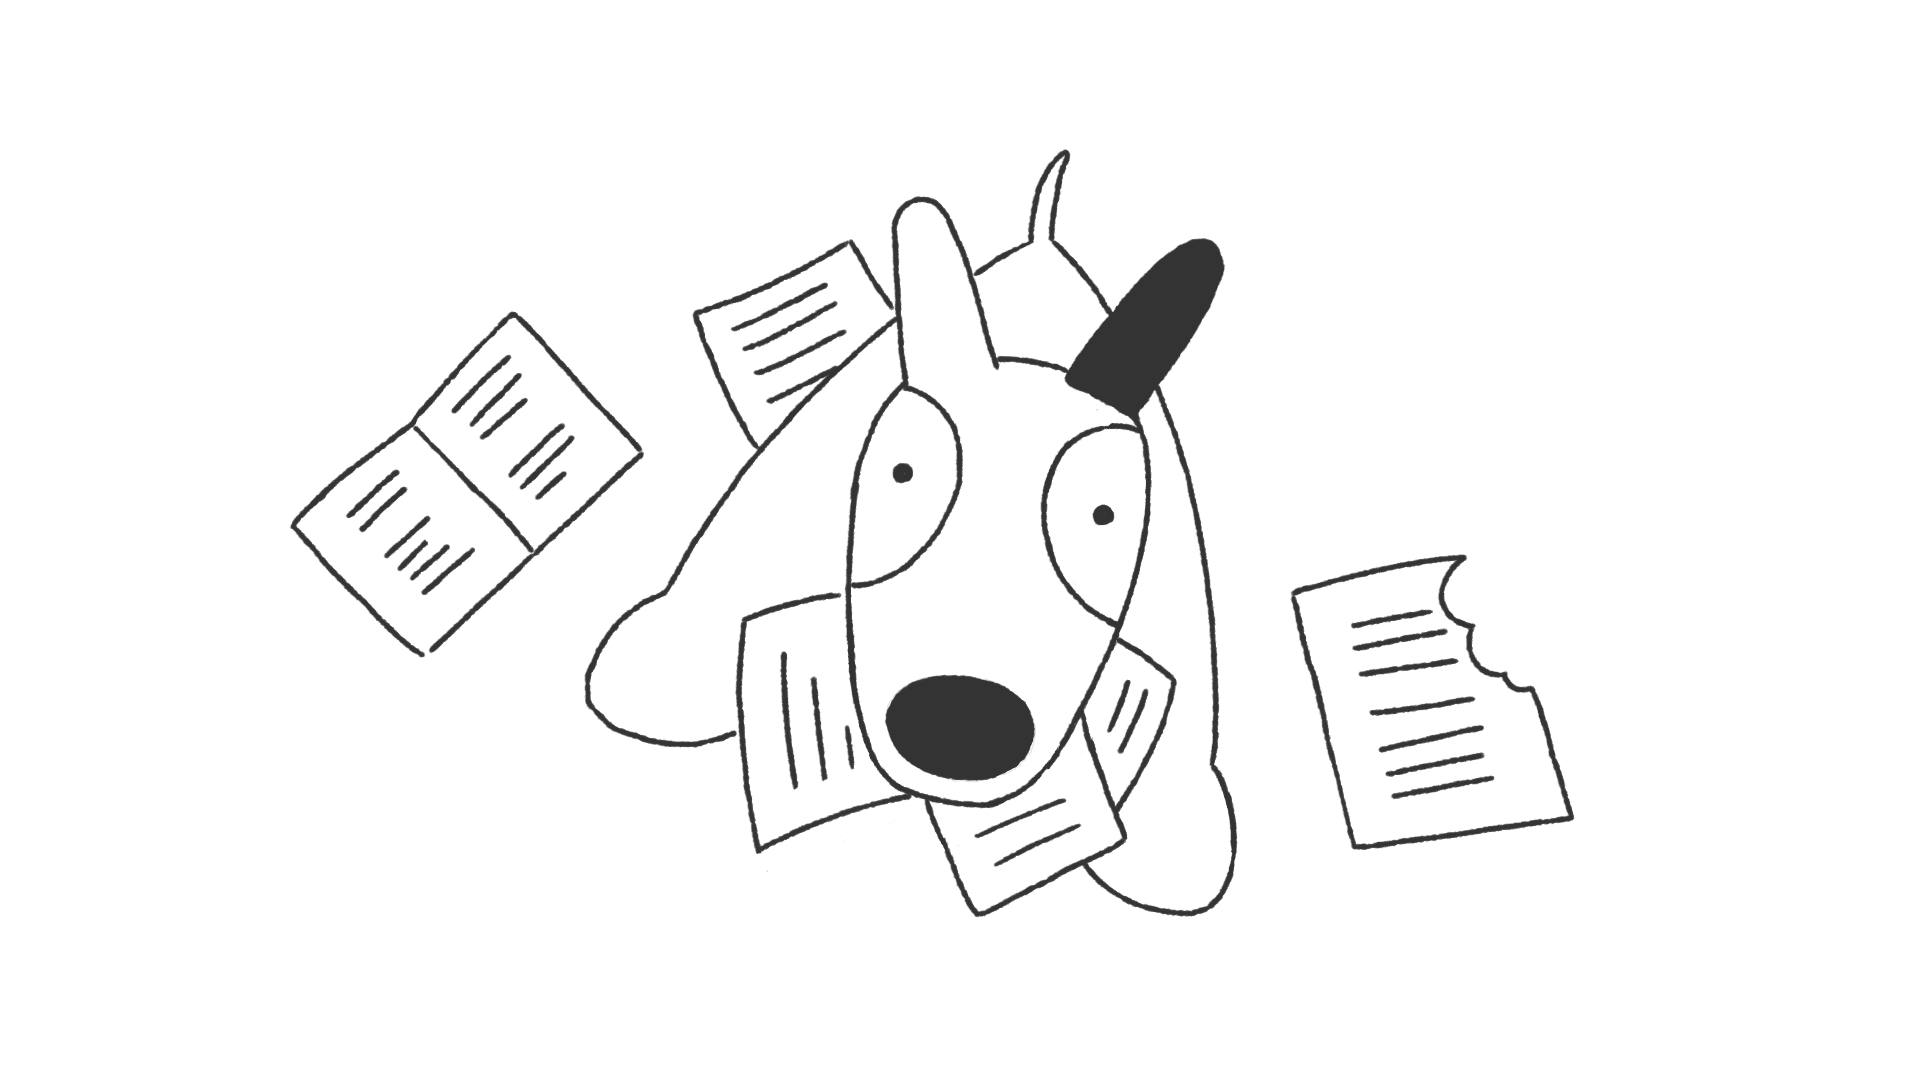
Adding knowledge of transitions to your video editing vocabulary will make you a better filmmaker. We’ve assembled examples of the most common transitions - ably demonstrated by Pencil the dog - to show you the basics.


Please copy this link and paste it into your windows file explorer, or in the browser's address bar.

Fades

Fades are the building blocks of many other transitions. Subtle to the point of almost being invisible, effective use of Fades is a key skill in your video editing toolkit.

...
Fade In

During a Fade In transition the shot gradually becomes visible. Helpful in giving the viewer time to take in an image, Fade In transitions are often used to start a film or set the scene.

...
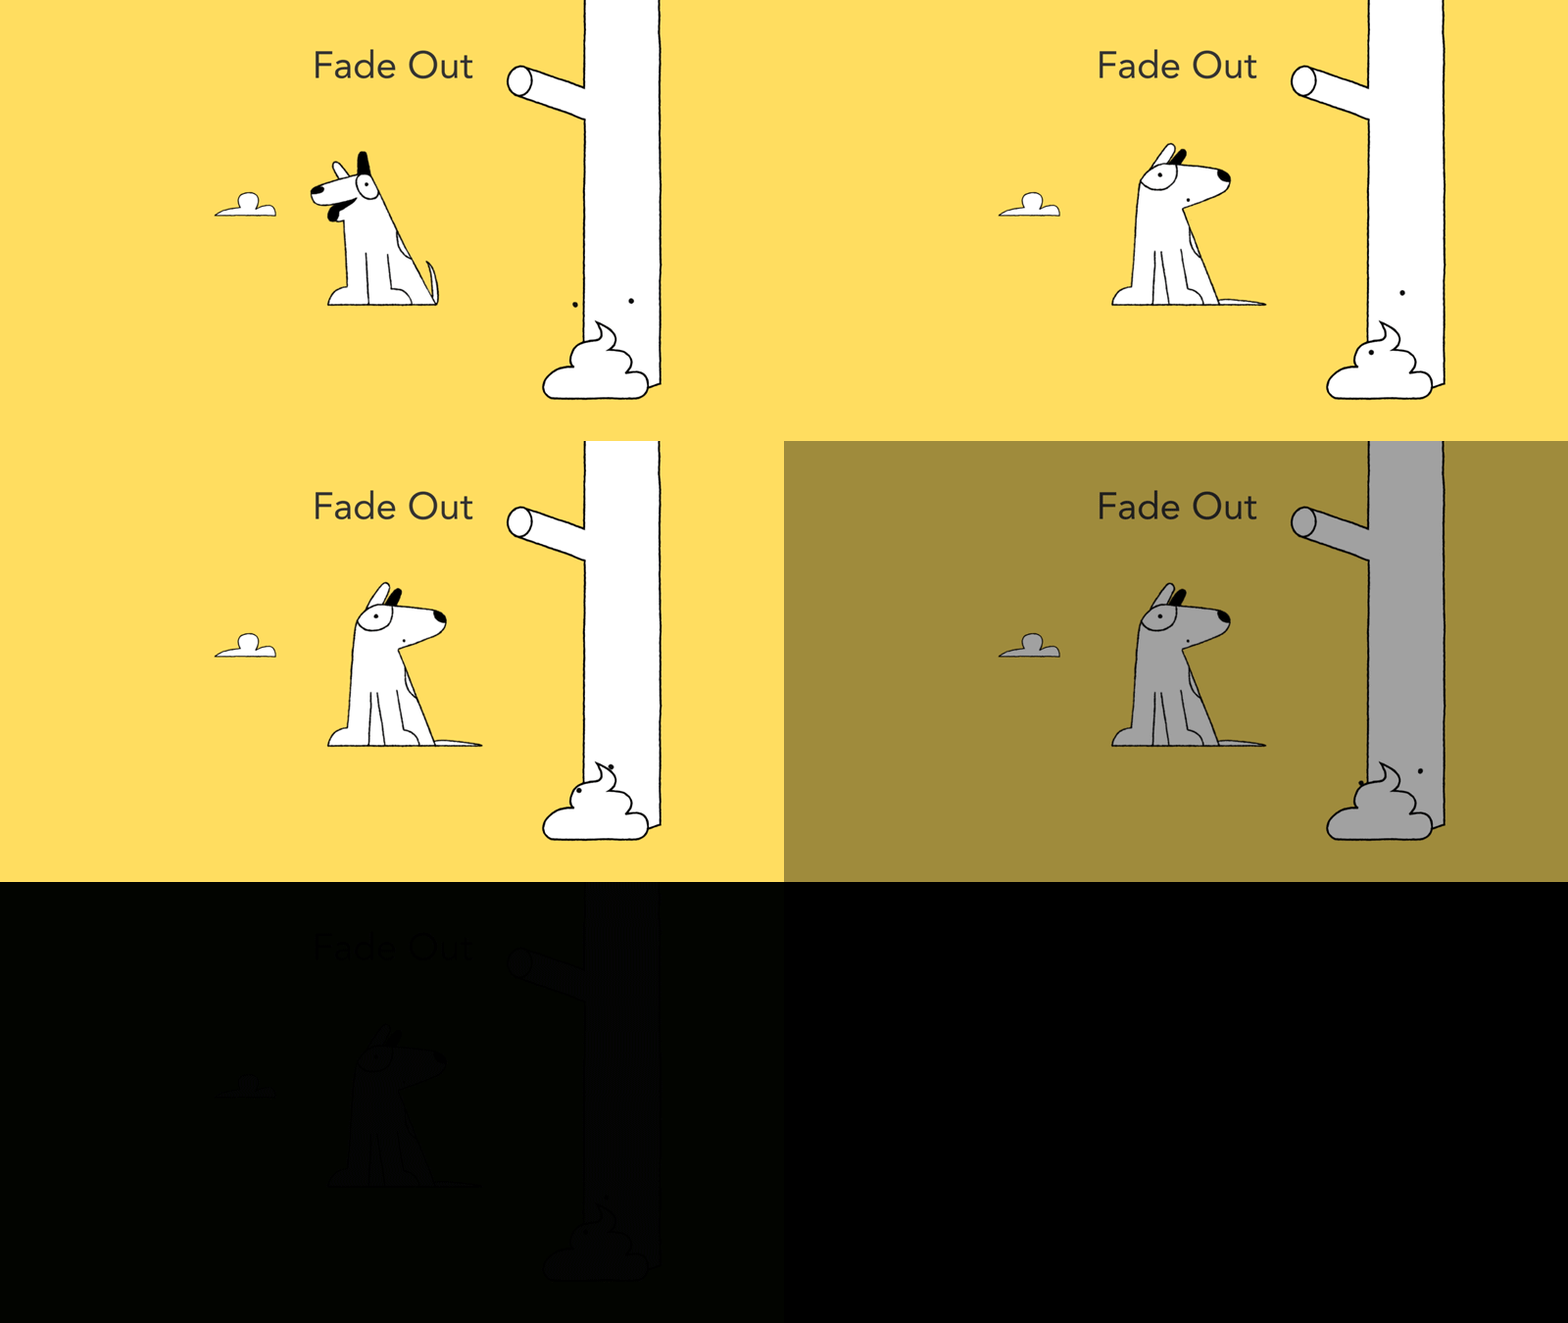
Fade Out

During a Fade Out transition, the shot starts at full brightness and gradually becomes invisible. Using the Fade In and Fade Out together is an effective way of conveying the passage of time. The stock transition for the end of a scene.

...
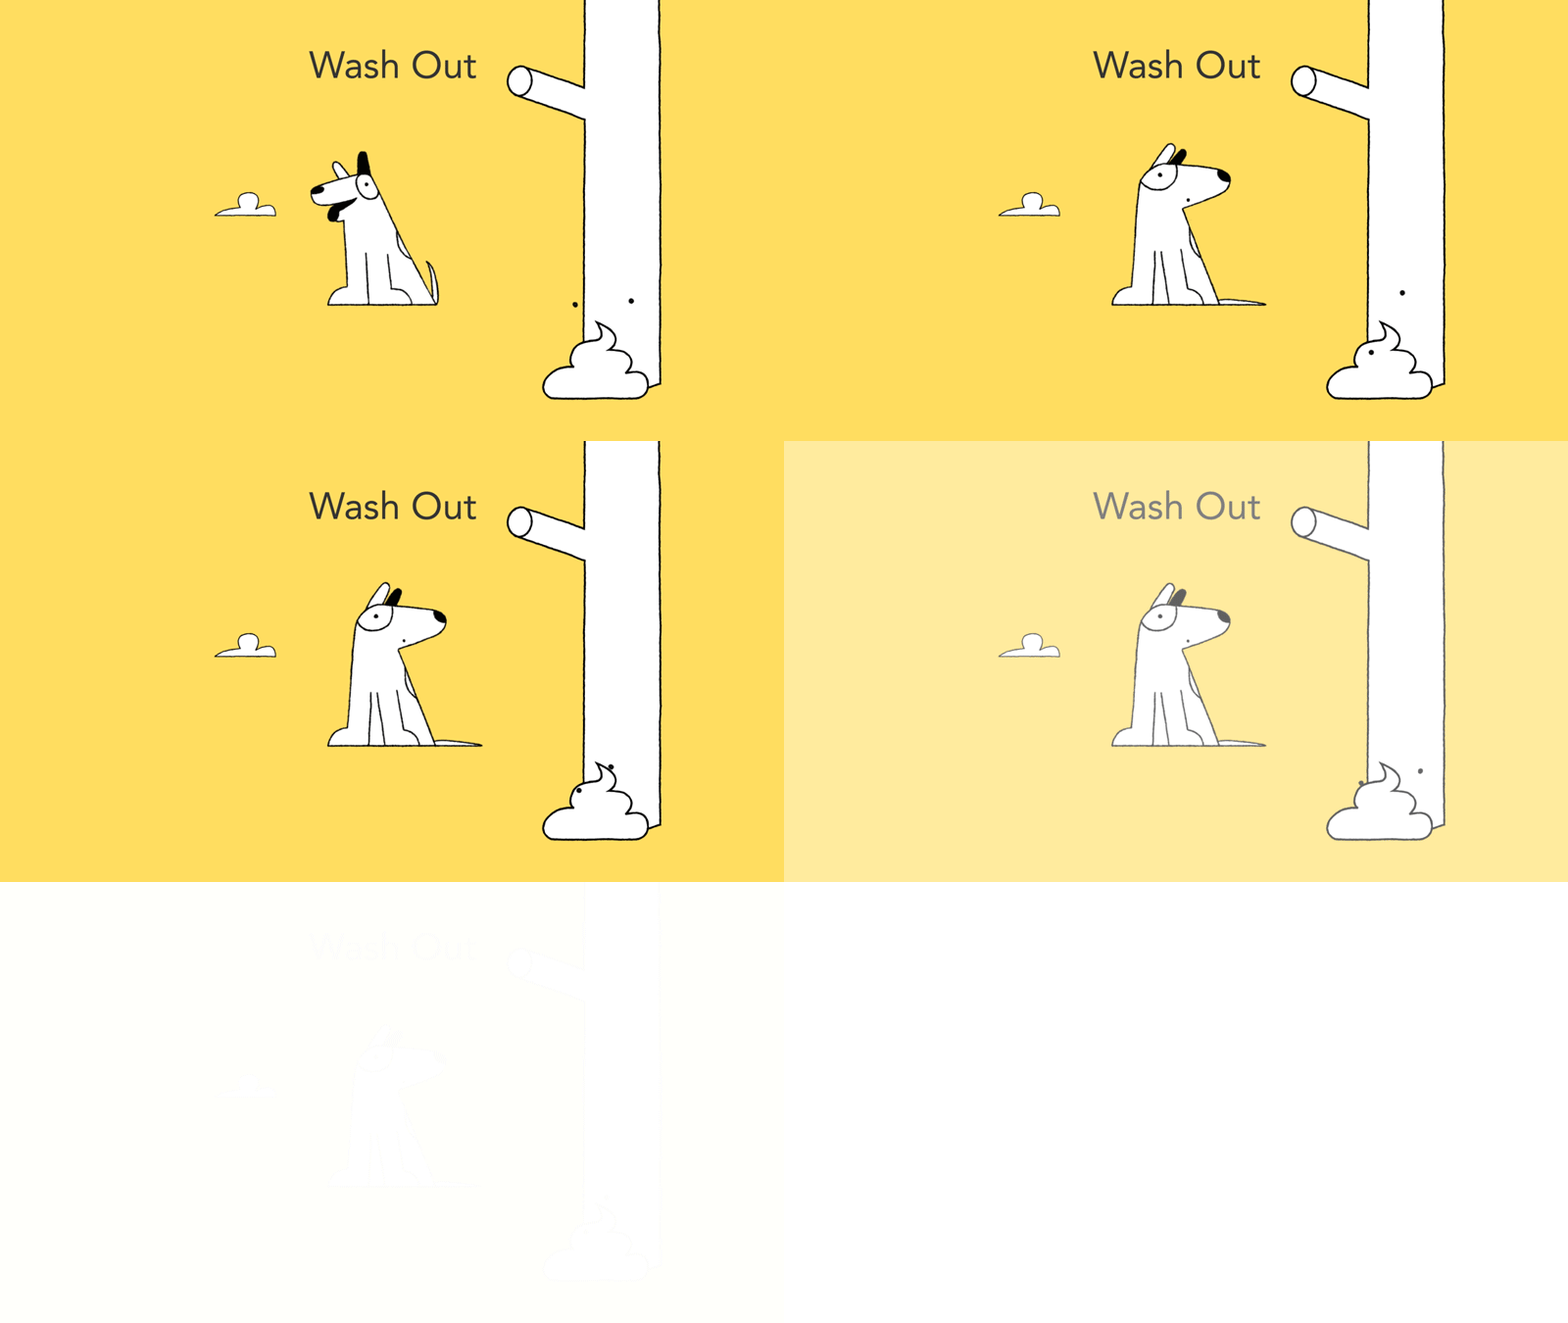
Wash Out

Similar to the Fade Out transition, but fading to white rather than black.

Dissolves

Building on Fades, Dissolve transitions gradually replace one image with another, but often with more artistic flair. With this power comes responsibility, and complex Dissolve transitions should only be used to aid in story-telling.

...
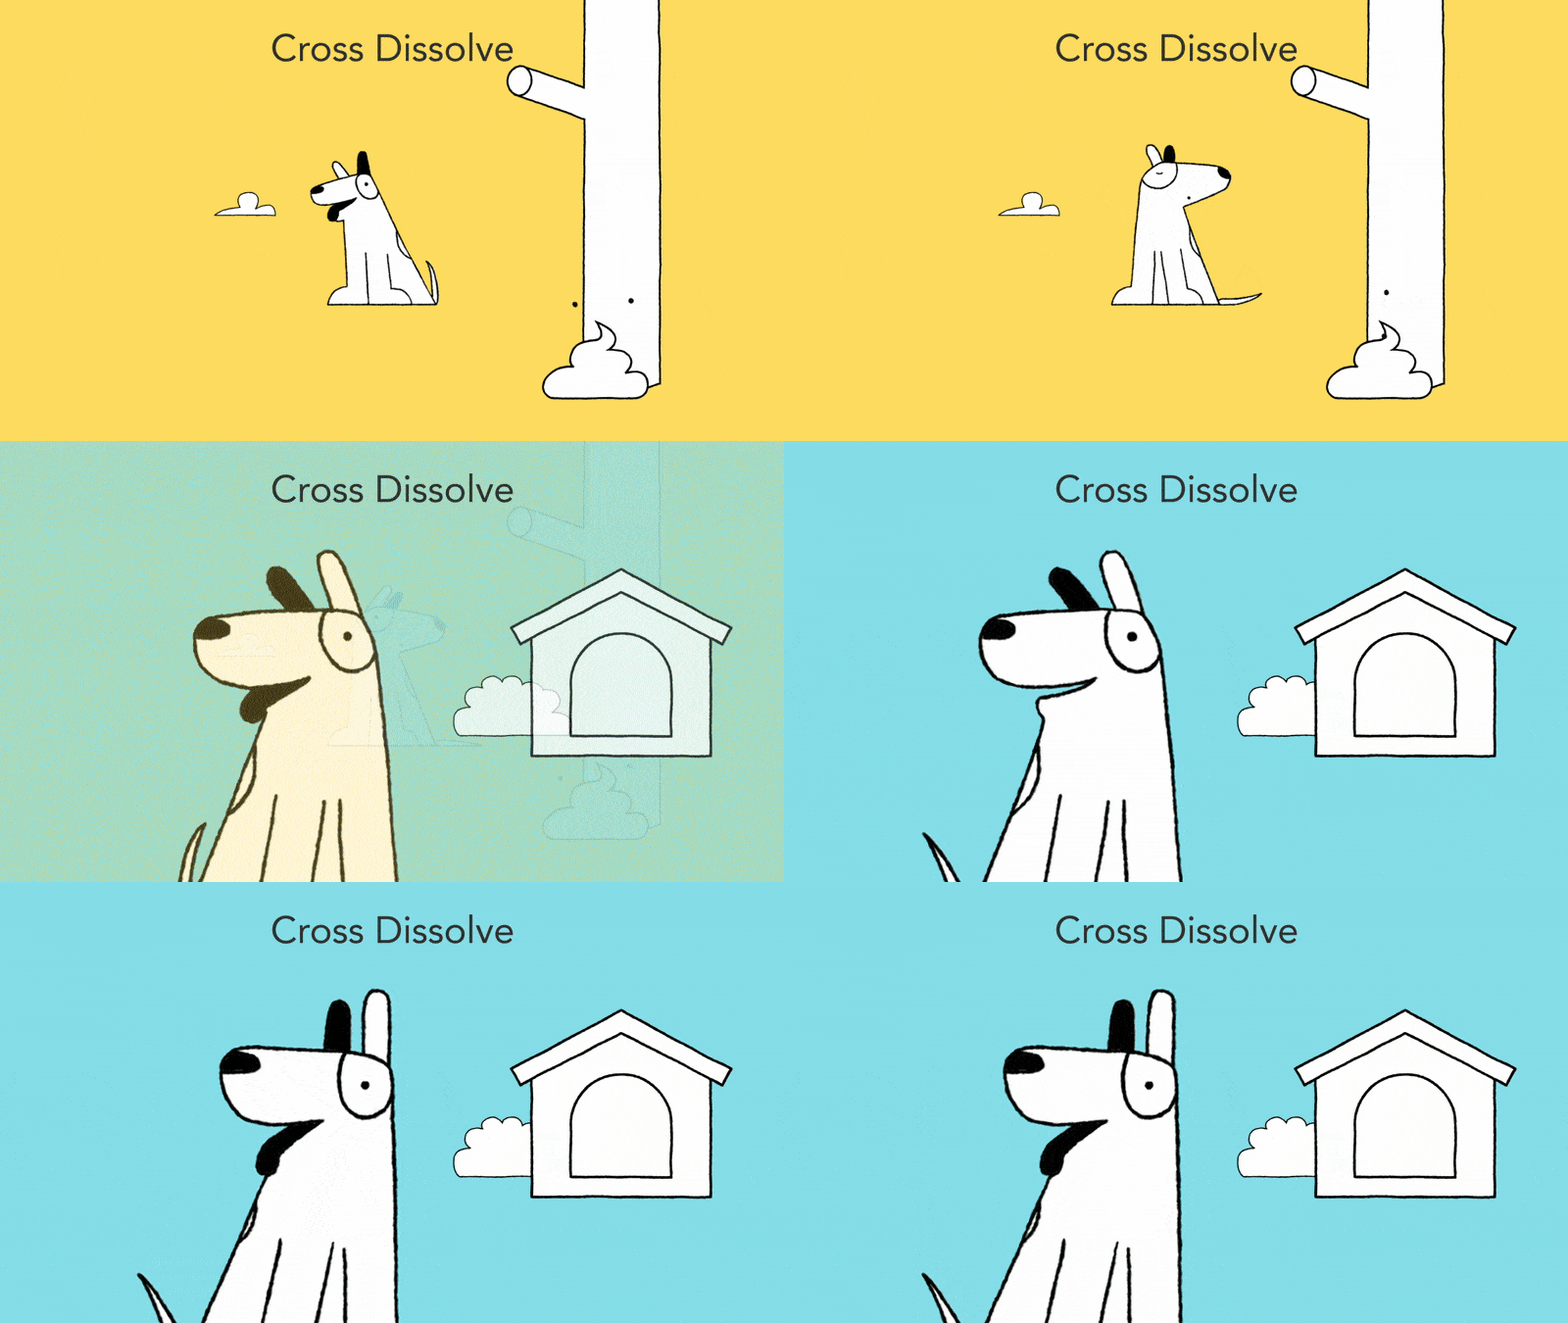
Cross Dissolve

Effectively a combination of Fade In and Fade Out, a Cross Dissolve gradually replaces one shot with another. This transition is often used to imply a passage of time or a change of location.

...
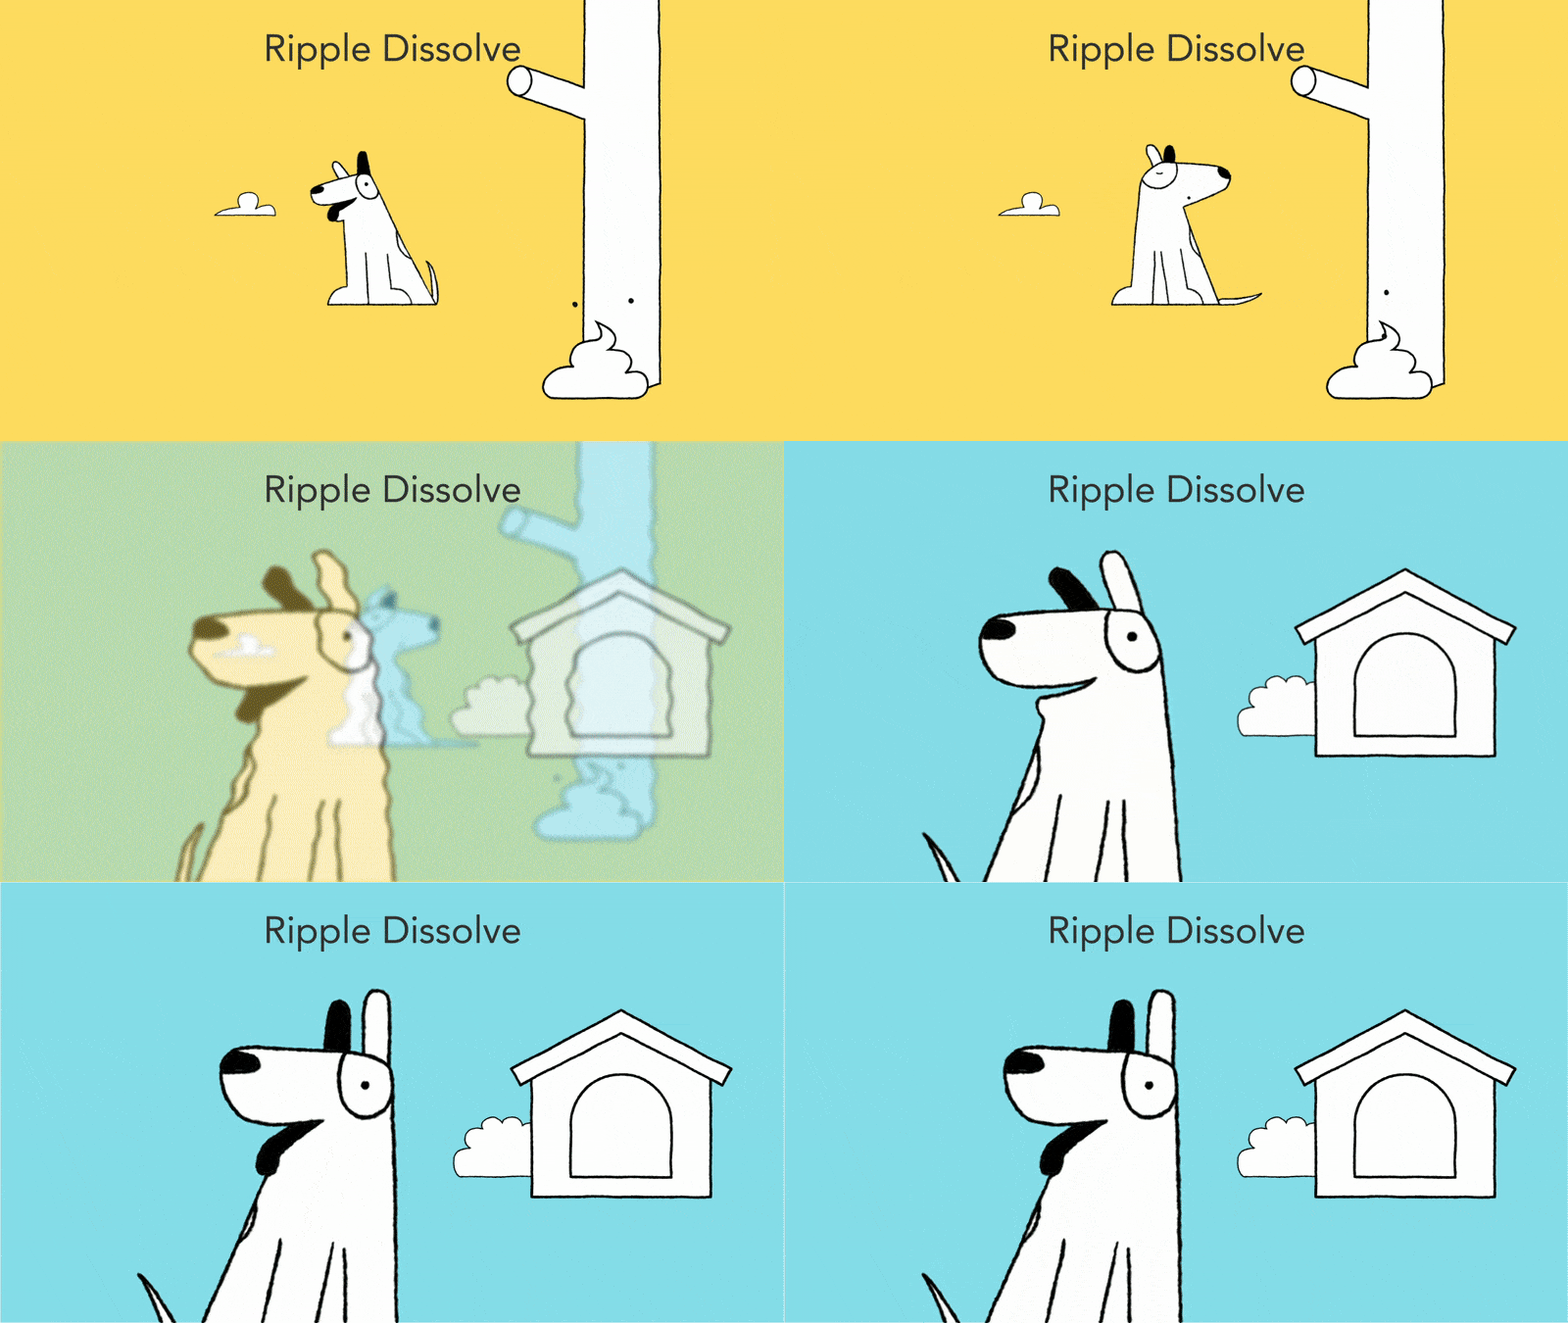
Ripple Dissolve

Perfect for a dream sequence. Ripple Dissolve is similar to a Cross Dissolve in that one shot is gradually replaced by another but it makes use of a ‘Ripple’ filter which gives a dream-like quality to the transition. Use sparingly.

Cuts

The most abrupt of transitions. Cuts are characterised by the content of the two shots rather than the style of the transition itself. A Cut transition replaces one shot with another. In this way, they could be considered more of a direction technique, rather than a transition.

...
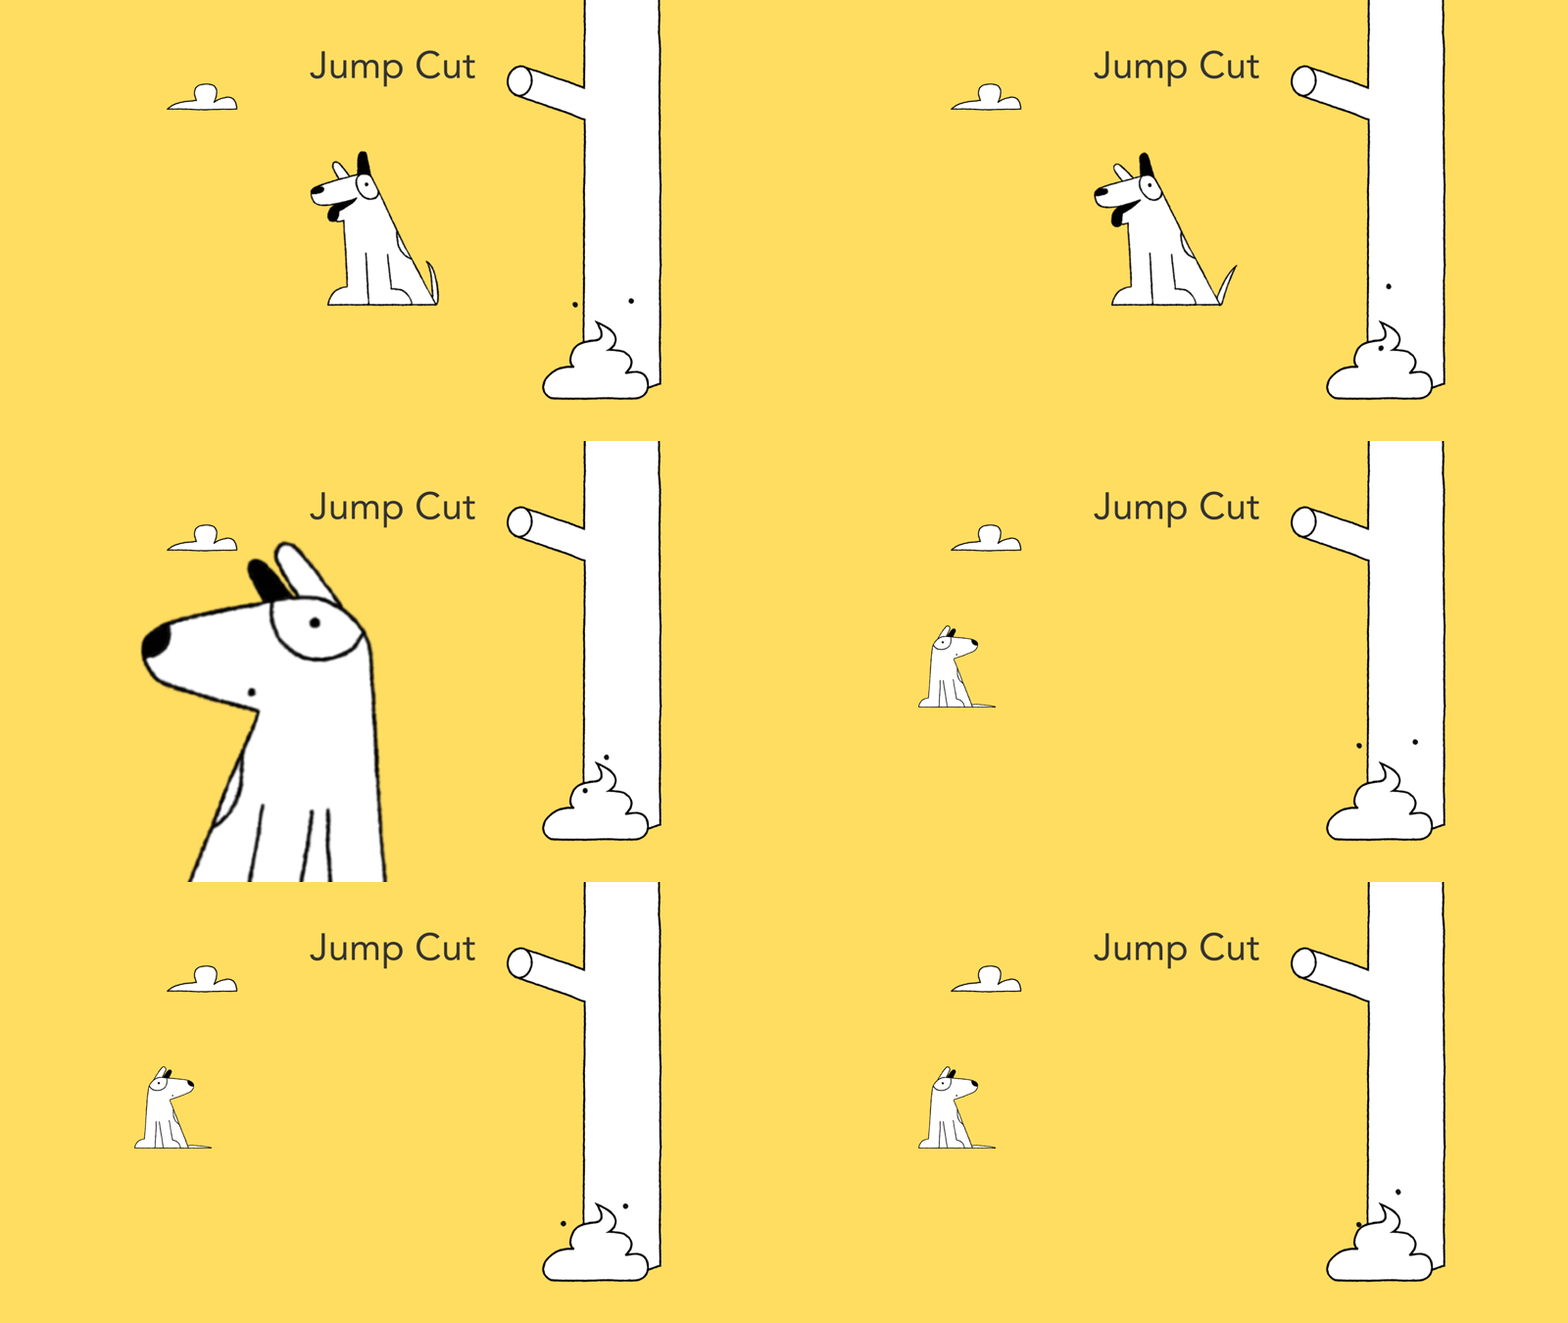
Jump Cut

In a Jump Cut transition, the subject appears to ‘jump’ from one location to another. It’s often used create the impression of time passing.

...
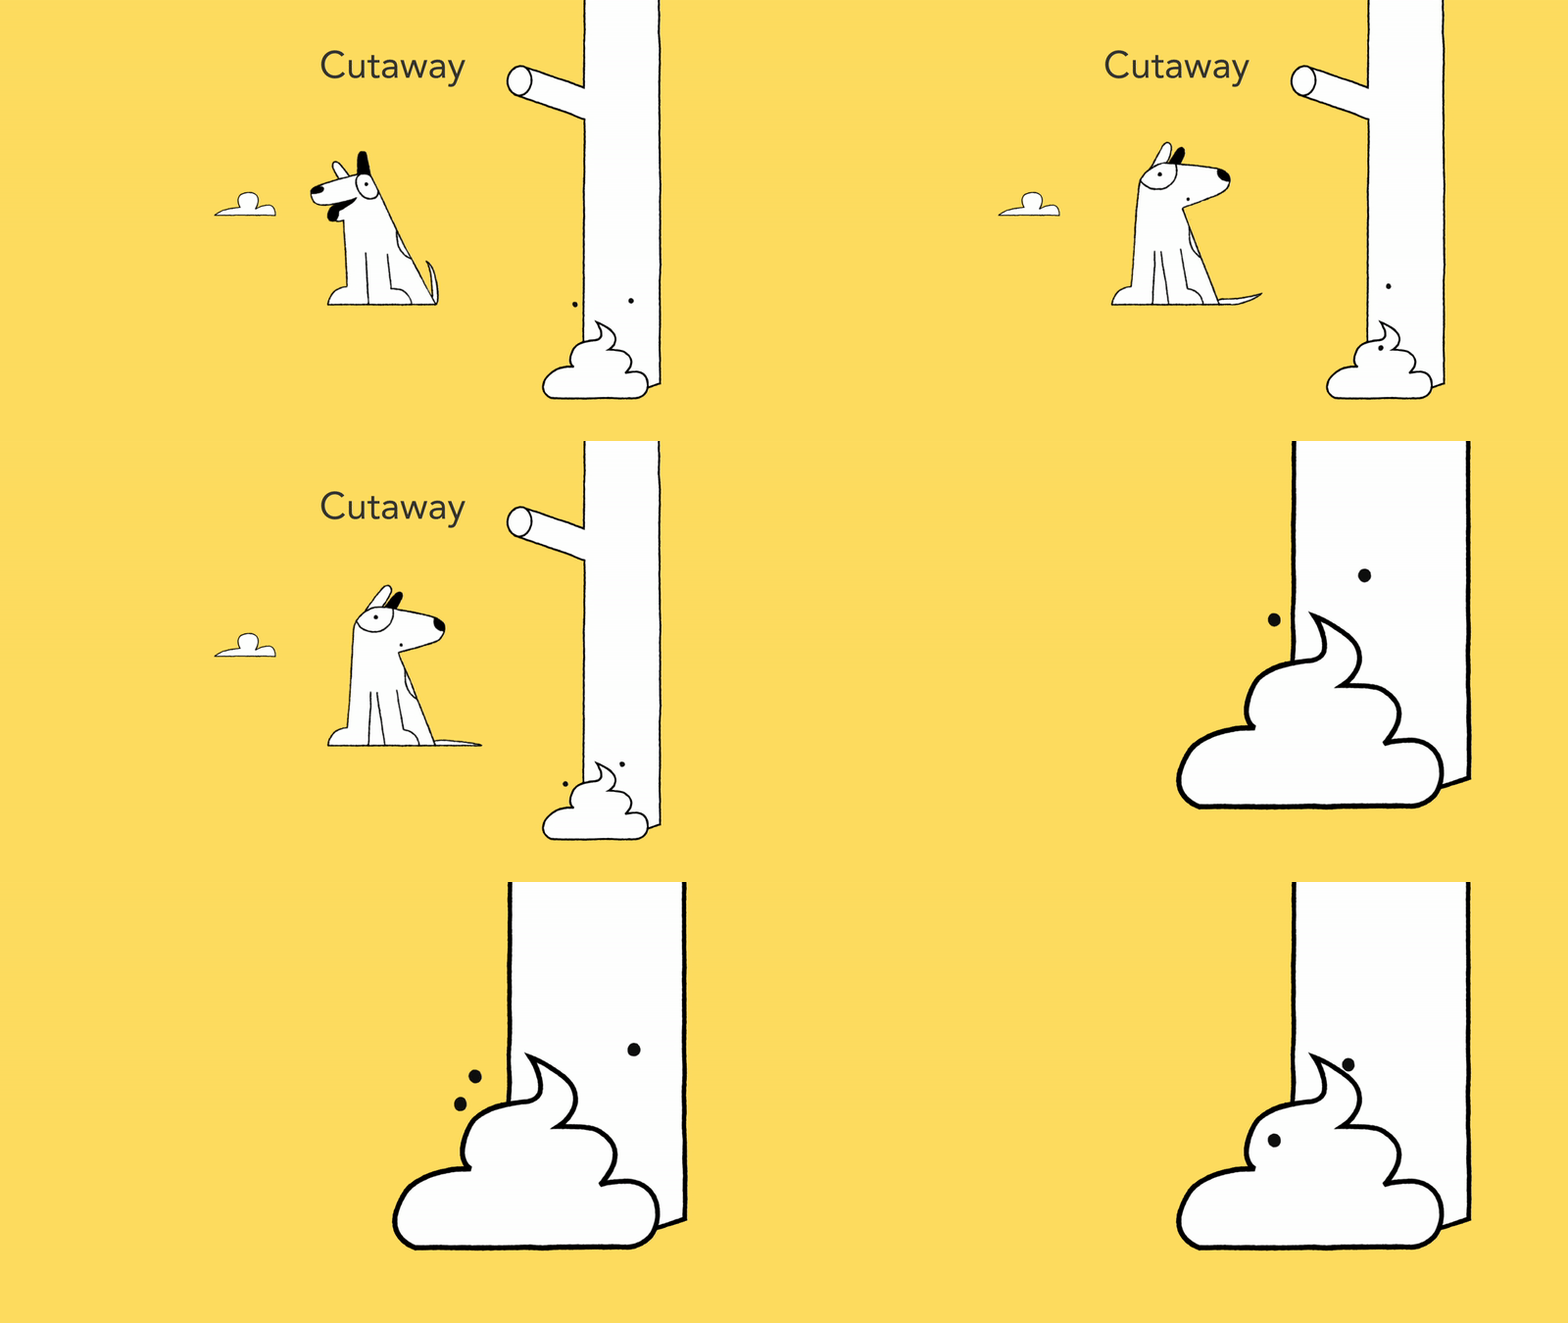
Cutaway

A Cutaway transition involves cutting to a secondary (but related) shot which is separate from the main action. It can be used to show action in two different locations, or in a conversation to show both the speaker and listener.

Wipes

Wipe transitions replace one shot with another through animation. A Clock Wipe, for example, uses a circular motion like the hands of a clock to show the second shot. As with Dissolves, Wipe transitions grab attention and should only be used with good reason.

...
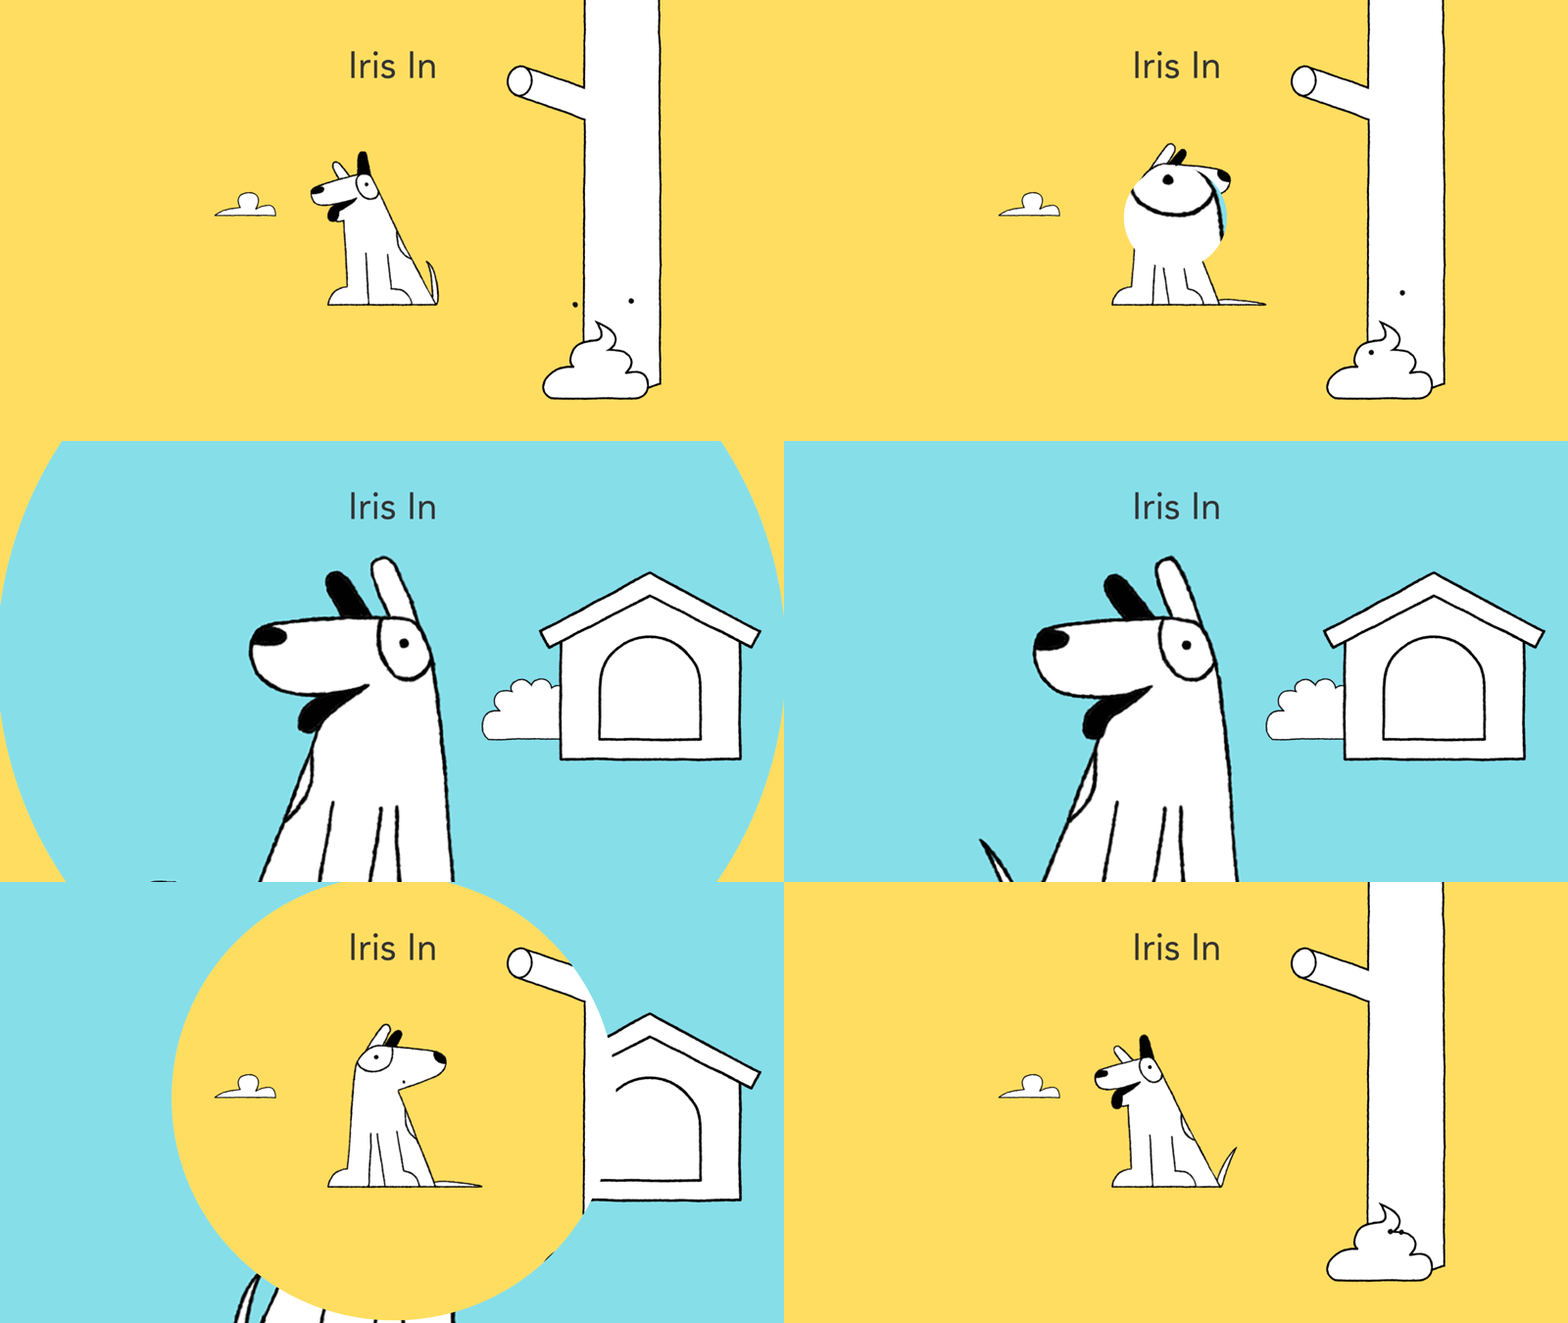
Iris In

Used at the beginning of a scene, the Iris In shows a small, circular area of the shot before expanding out to reveal the entire frame. Used everywhere from Tom & Jerry to The Departed.

...
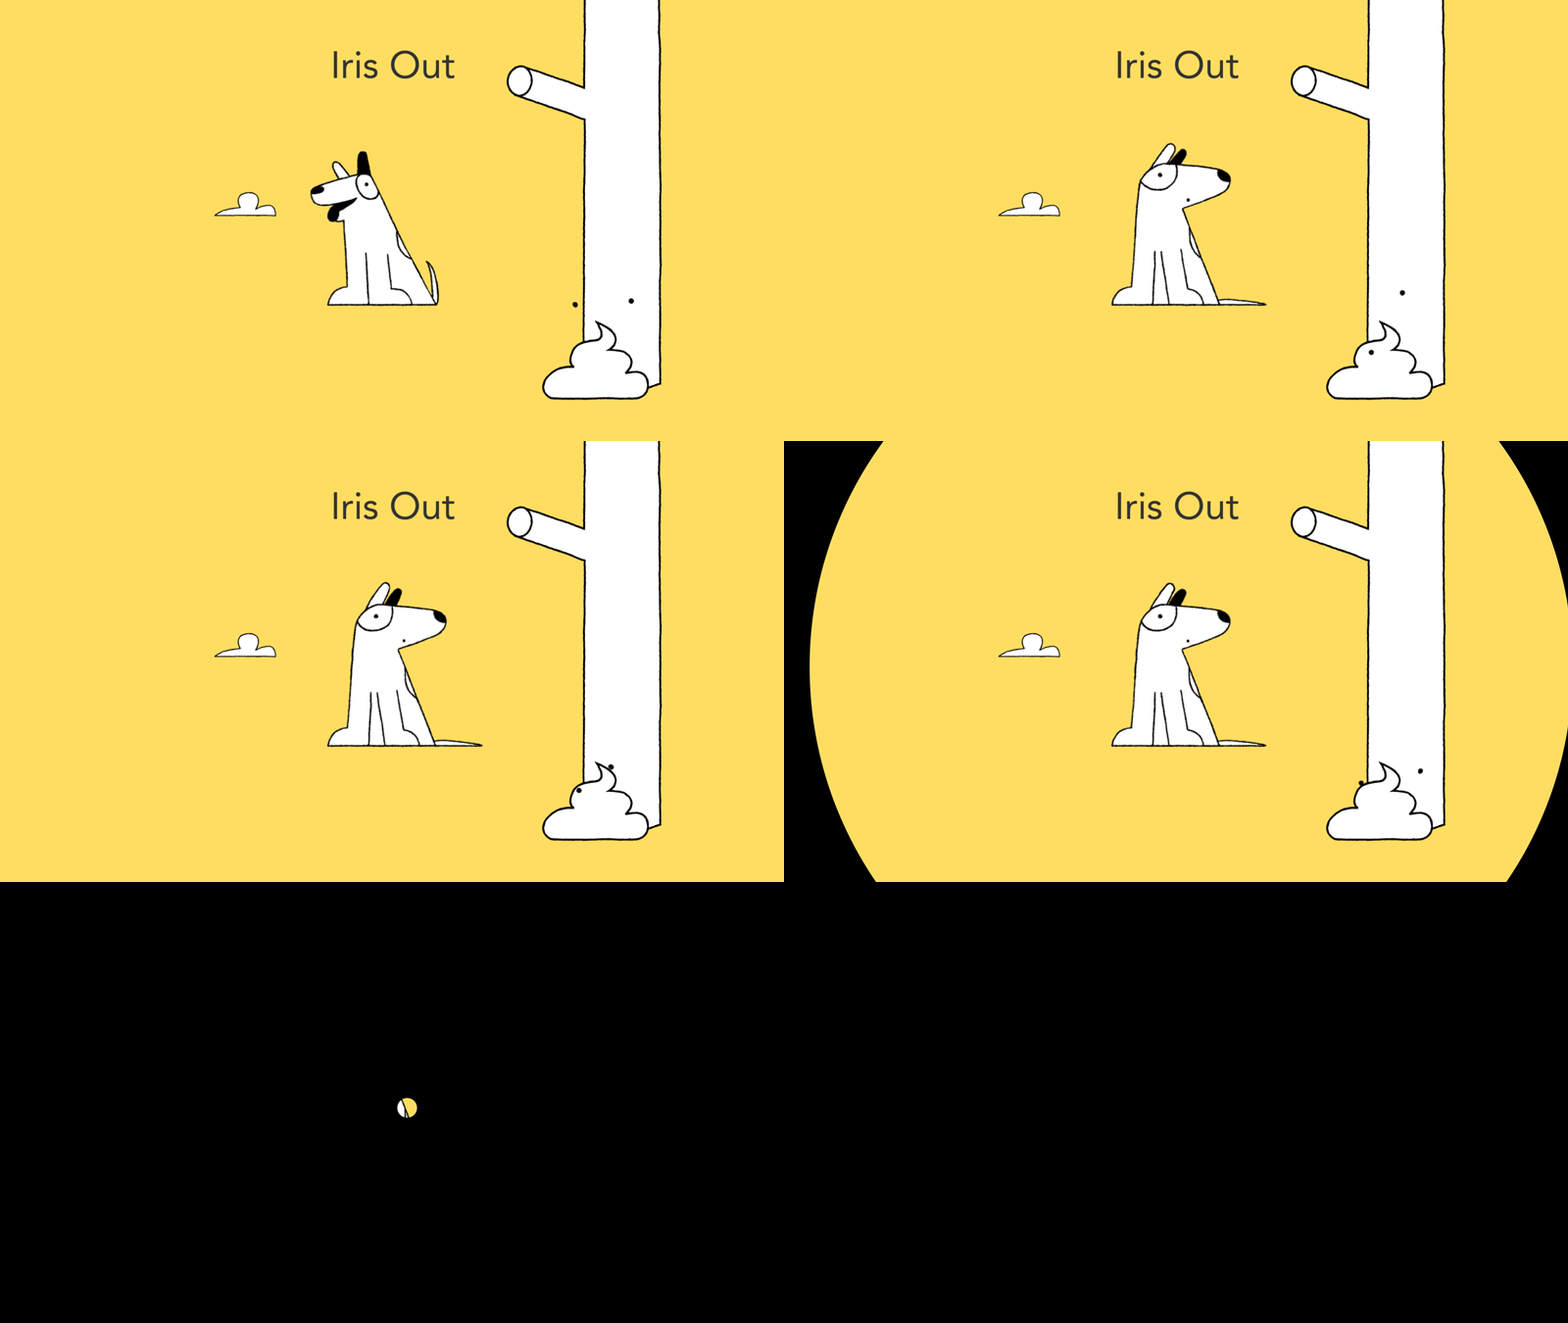
Iris Out

More theatrical than a Fade Out transition, an Iris Out transition is used indicate the end of a story by animating a contracting circle inward from the edge of the frame. It’s like a spotlight focussing on one area of the shot.